In this tutorial we will show you how to deploy a VPS with Vultr.com that can run CloudPanel. See: Installing CloudPanel on Ubuntu 22.04 for our CloudPanel installation guide.
If you don’t have an account with Vultr you can create one by using our affiliate link: https://www.vultr.com/?ref=8974135-8H when signing up with our affiliate link you will get $100 to test out their platform.
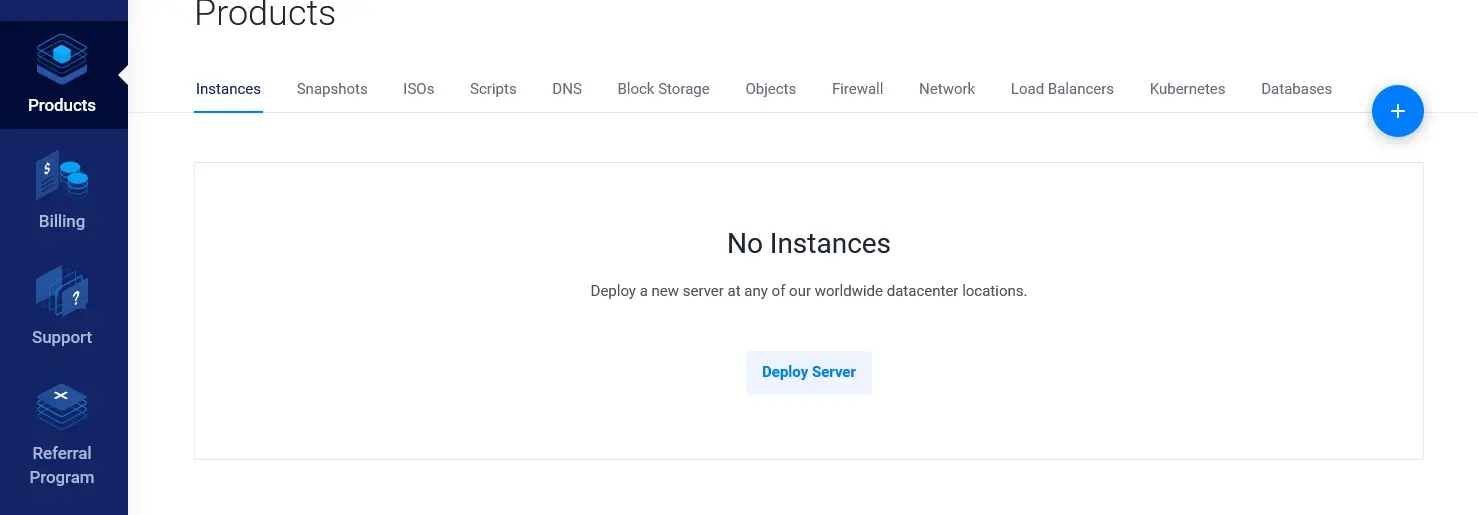
When you have an account login and press Deploy Server
Now you get to choose what kind of server you want, we choose the Cloud Compute instance
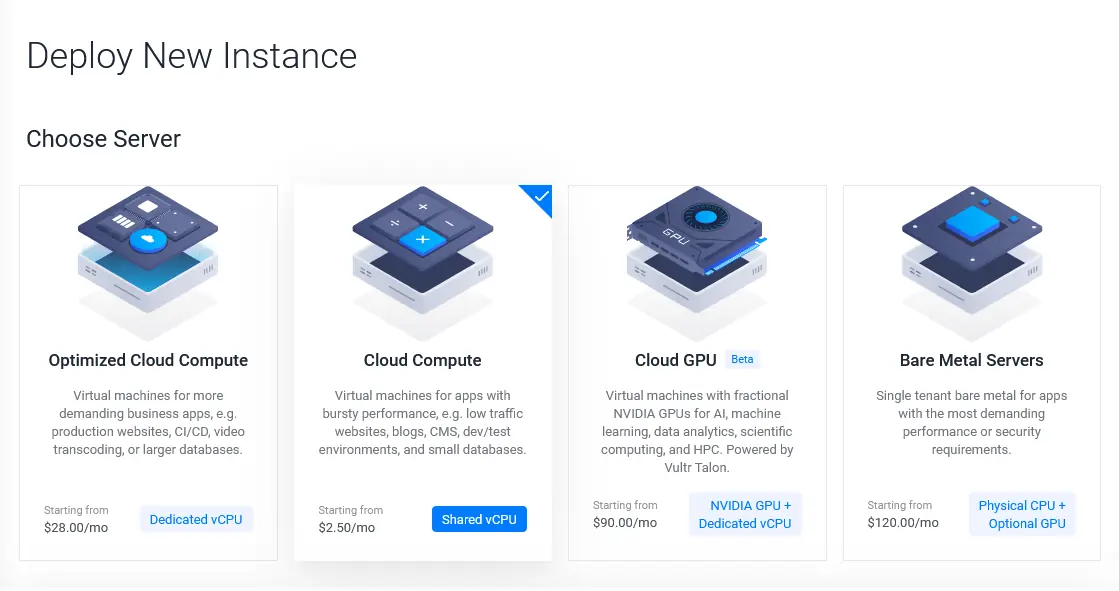
Followed by AMD High Performance. You could also choose Intel High Performance, Intel High Frequency or Intel Regular Performance.

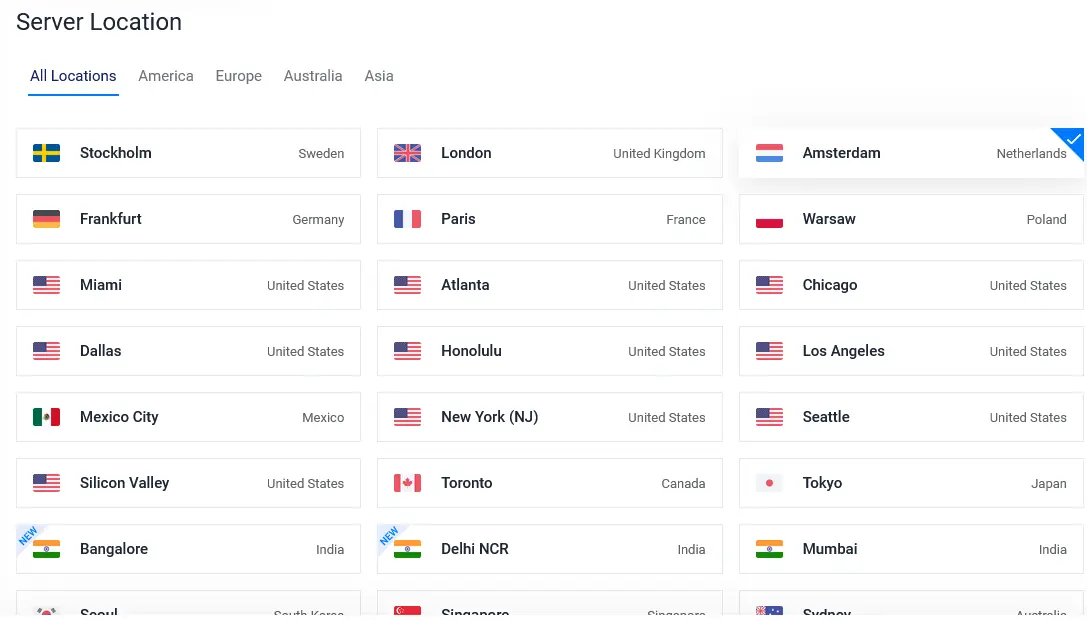
Next you will need to choose your server location, choose the region where you would like to have your VPS located, in our example we choose Amsterdam
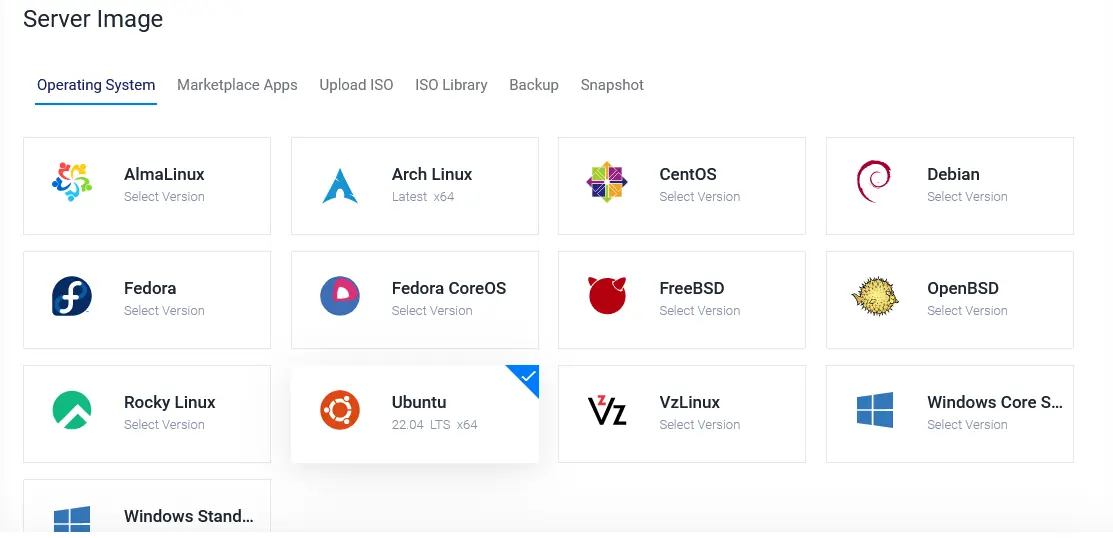
Now you can select your operating system. We choose Ubuntu 22.04 LTS as our operating system, for the use in our CloudPanel installation guide.
The next thing we need to choose is the server size, since we are using this tutorial for our CloudPanel installation guide we choose the 50 GB NVMe with 1 vCPU, 2 GB Memory and 3 TB Bandwidth for $12/month any higher plan will also work with CloudPanel.

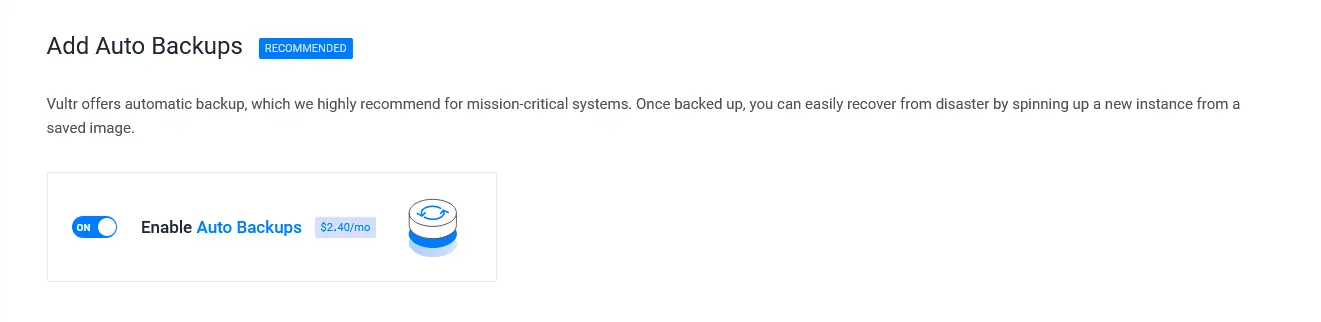
In the next part you can decide if you want to have automatic backups of your instance if you want them it will add $2.40/mo. (you can always enable them later on)
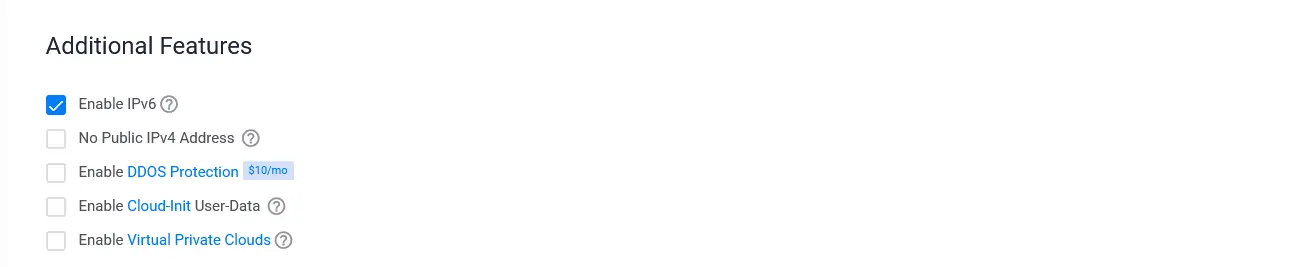
The next part lets you select additional features, here we let IPv6 enabled and move on.
If you like to use an SSH key to log in to your server you can add it now by clicking on Add new under SSH Keys.

Next up the Firewall Group, you can keep the default settings here “No Firewall”

We are almost ready to deploy our VPS, the only part left is giving you’re VPS a server Hostname, for example you could name it example.com or cp.example.com (where example.com is your domain name.)

Now that everything has been filled in you can click on the Deploy Now button.

It will take a few minutes now for your Instance to be deployed, when it’s deployed you will receive an email. But even after you received the email it is wise to wait a few extra minutes to let the instance fully deploy itself.
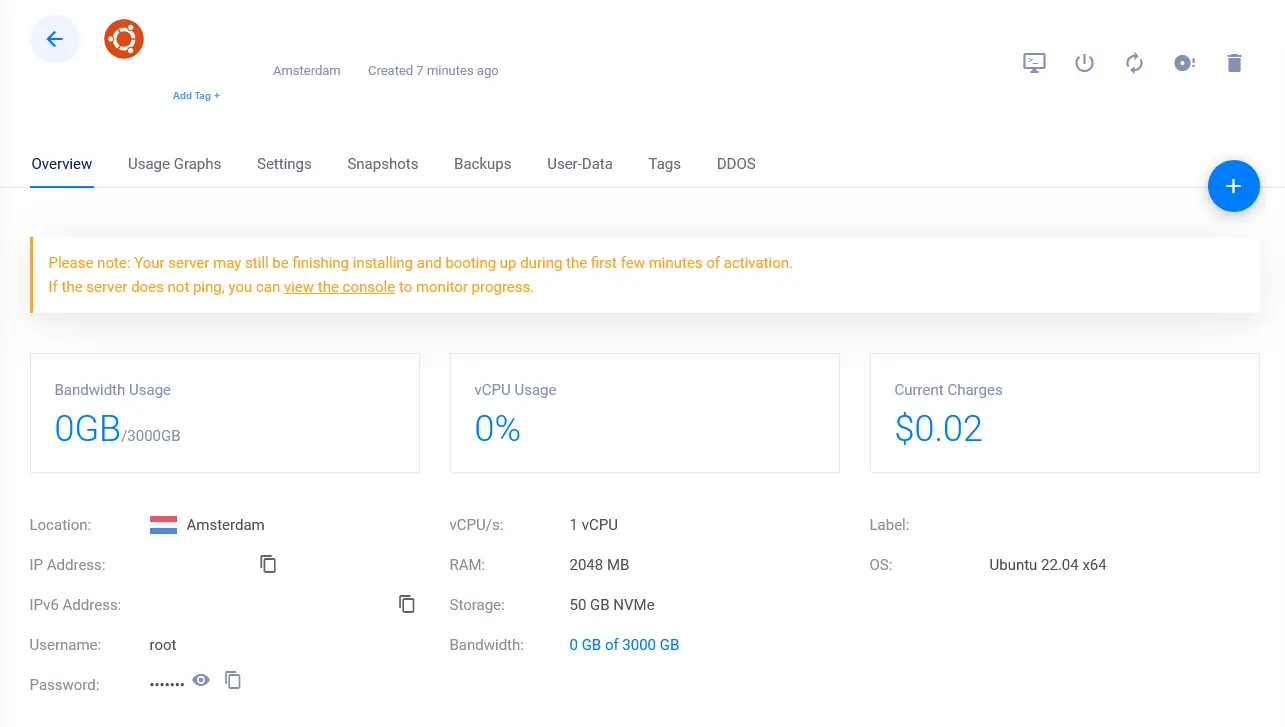
Server Information
When your server is fully deployed you will see it in your instances list. (we removed our domain and IP address in the screenshots)
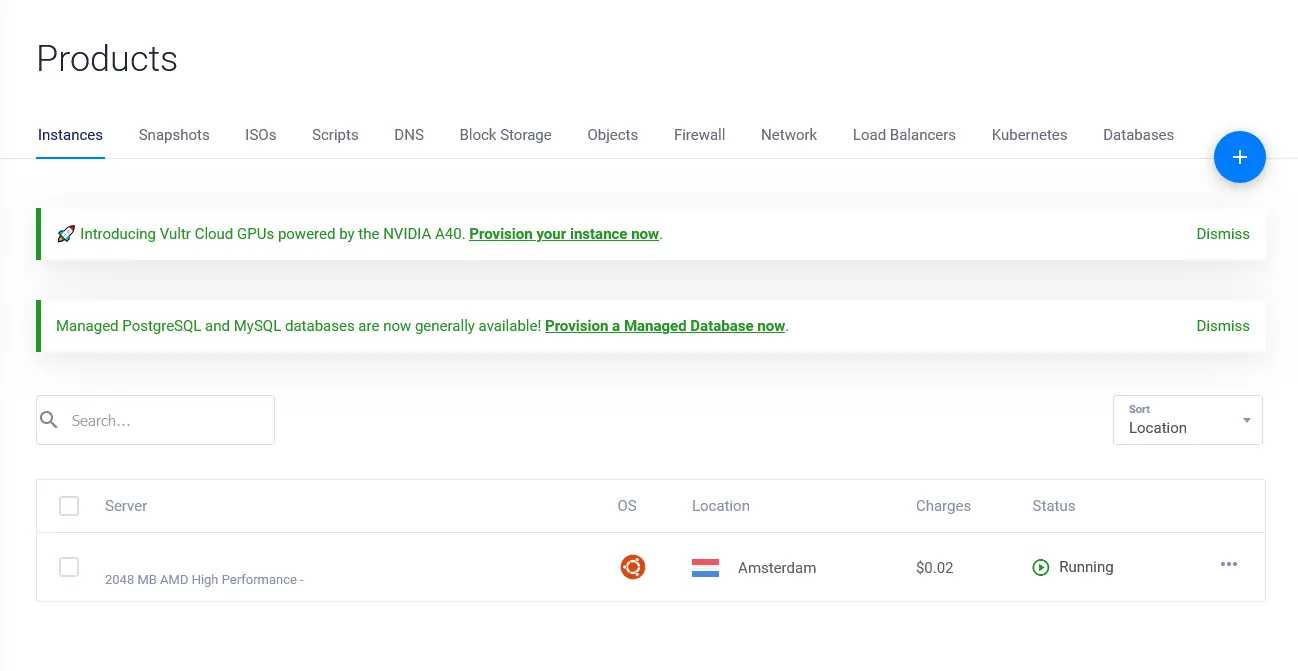
Click on your server name to view your SSH login information. (username and password)