In this guide we will install Flarum on a CloudPanel site with an Origin SSL certificate from Cloudflare. For people that want to use Let’s encrypt or their own certificate you can still follow this guide, just skip the Cloudflare parts.
Creating a Cloudflare Origin Certificate
Note: For people that don’t want to use Cloudflare Origin Certificates but the Let’s Encrypt certificate that you can issue with CloudPanel, you can skip this Cloudflare part.
Go to Cloudflare.com and log-in to your account. Now in your account overview click on the domain you want to use for flarum.
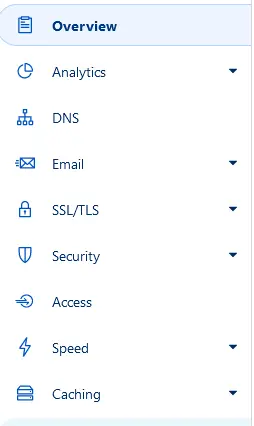
When you are on the domain you want to use click on SSL/TLS in the left menu.
Now a new page opens with your SSL/TSL overview, here you will want to put your SSL mode on Full (strict).

Next click on Origin Server in the menu on the left.

Now click on Create Certificate.

You can keep all the default settings on the page and click on Create
Cloudflare will now create an SSL Certificate for your main domain and a wildcard for all your subdomains, that will be valid for 15 years.
After you clicked on Create a new page will open up with your certificates. Here you have a drop down box with Key Format, keep the default value.

Next you will have a text area with your Origin Certificate and private key, copy both of them in a notepad file and save them, we will use both later in CloudPanel.
-----BEGIN CERTIFICATE-----
Lots of characters
-----END CERTIFICATE-----
-----BEGIN PRIVATE KEY-----
Lots of characters
-----END PRIVATE KEY-----Now press Ok. In case you lose your private key you will need to revoke your old certificates and create a new one by following above guide. So again keep your certificate and especially your private key safely stored in a notepad file.
Creating a new PHP site in CloudPanel
Now we will create a new PHP site in CloudPanel, so login to your CloudPanel. In case you didn’t install CloudPanel see the following guide: Installing CloudPanel on Ubuntu 22.04 on how to install CloudPanel on Ubuntu 22.04.
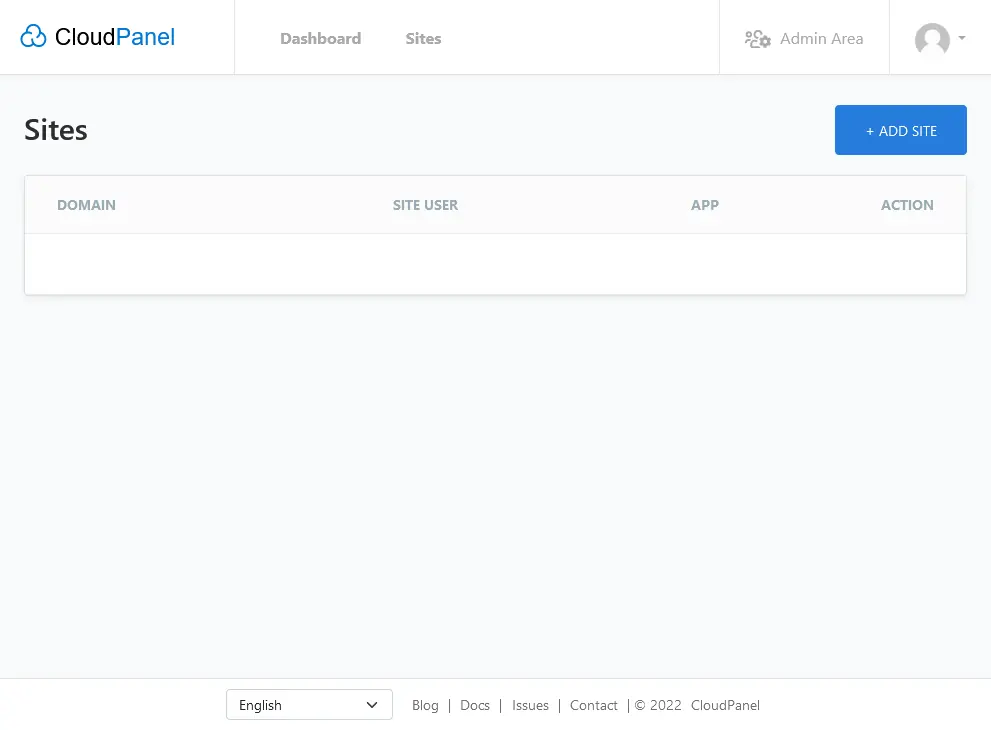
With your CloudPanel open click on + ADD SITE.
Now on the next screen click on Create a PHP Site.

On this screen we need to fill out some information. For application, we choose Generic, For Domain name choose your (sub)domain, PHP Version we choose PHP 8.1, for Site User choose your desired site user name and for Site User Password choose a strong and secure password. When you have filled in everything click on Create. The creation of your new PHP site wil take a couple of seconds to complete now.

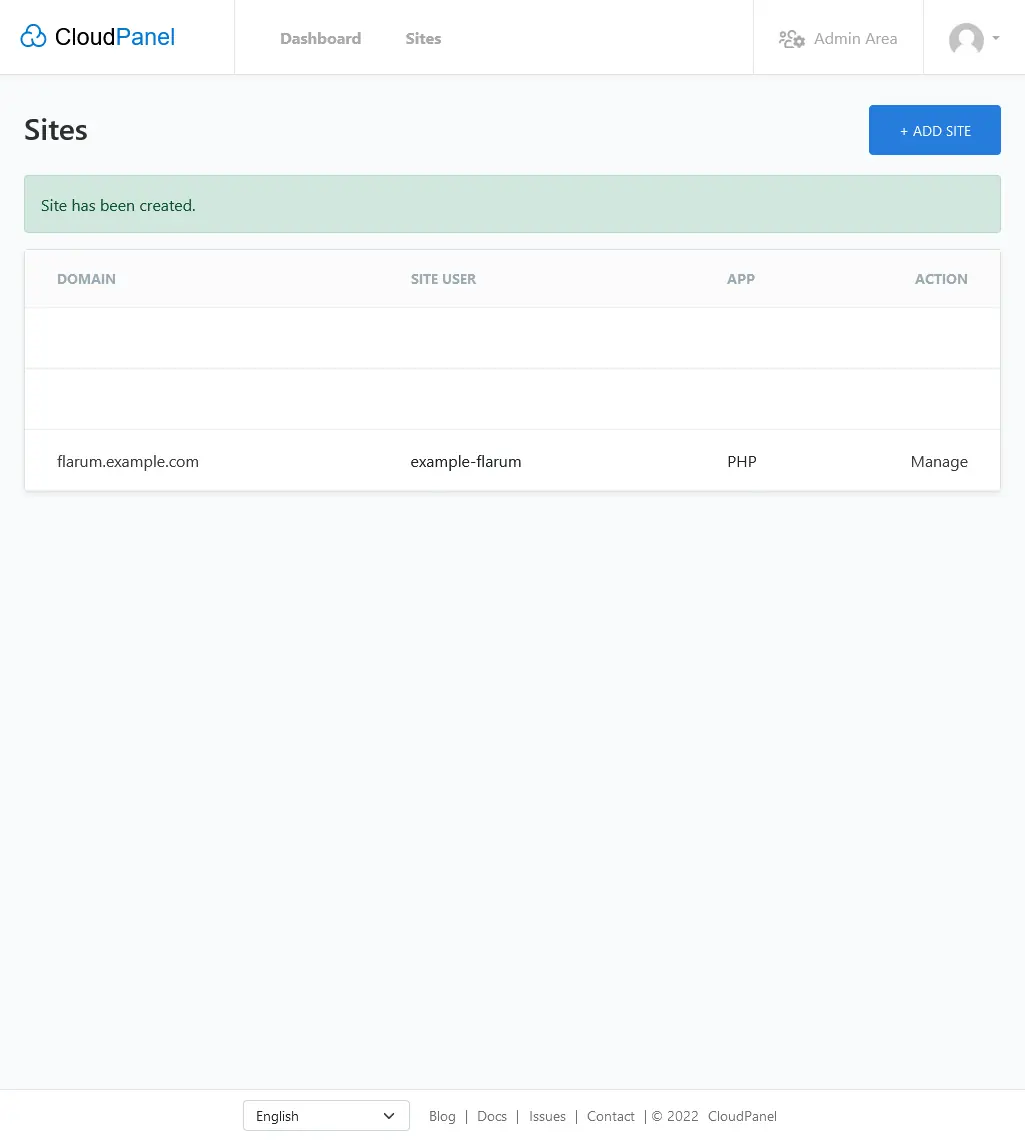
After your new PHP site is created you will return to your sites overview.
Edit the root directory
While on our site overview click on Manage for the site you just created.
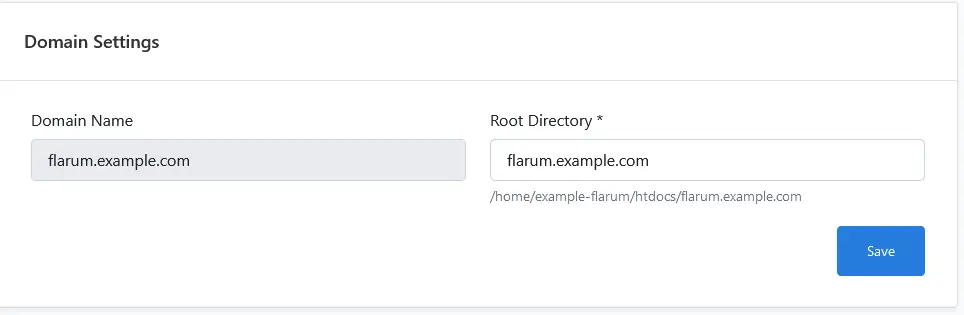
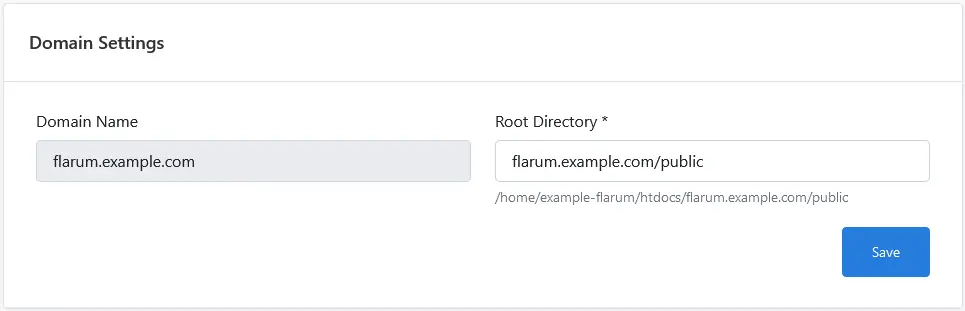
Now on the settings tab of the site you just created, you will see Domain Settings, here you will edit the Root Directory to include /public, e.g. instead of flarum.example.com you will get flarum.example.com/public. When you changed it click on save. (See the before and after screenshots for our example domain)
BEFORE:
AFTER:
Create a database
Now we will create a database for Flarum. In the top menu click on Databases.
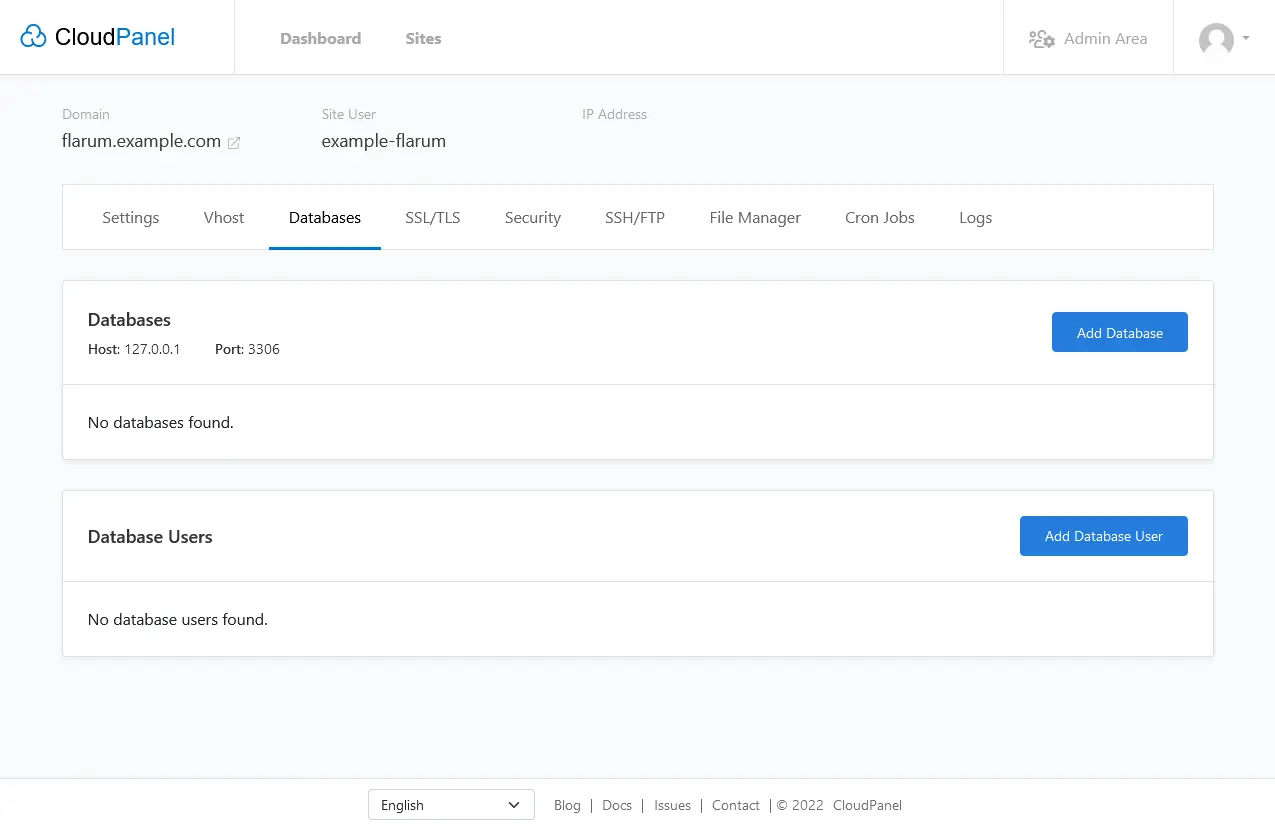
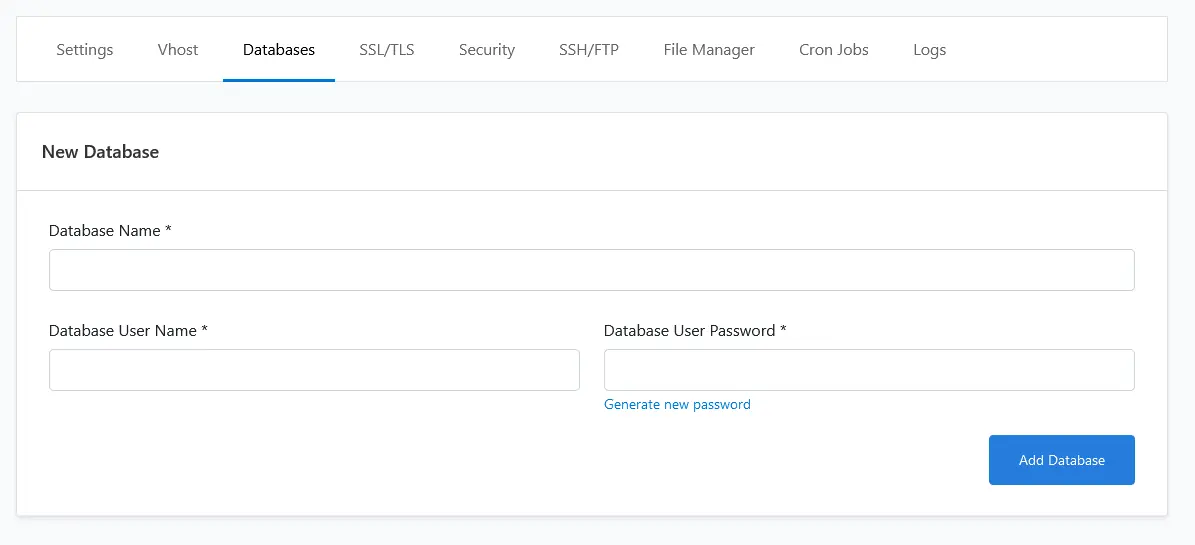
While on the Databases screen click on Add Database and fill out your desired database name, database user name and database user password. Before clicking on Add Database be sure to make a note in notepad of your database name, database user name and database user password, we need those later to install Flarum. After you made a note of your credentials click on Add Database.
Add our Cloudflare Origin certificate to CloudPanel
Note: if you don’t want to use a Cloudflare Origin certificate, skip this part, if you want you can assign a Let’s encrypt certificate here, be sure if you do so to turn off Cloudflare first and after the Let’s encrypt certificate has successfully been issued you can turn it on again.
Next we will install our Cloudflare Origin certificate, so it will act as our SSL. To do this click on SSL/TLS in the top menu.
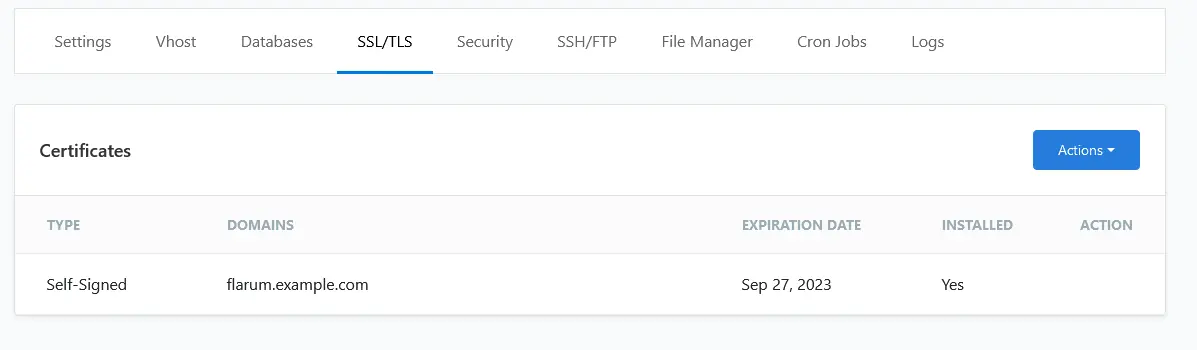
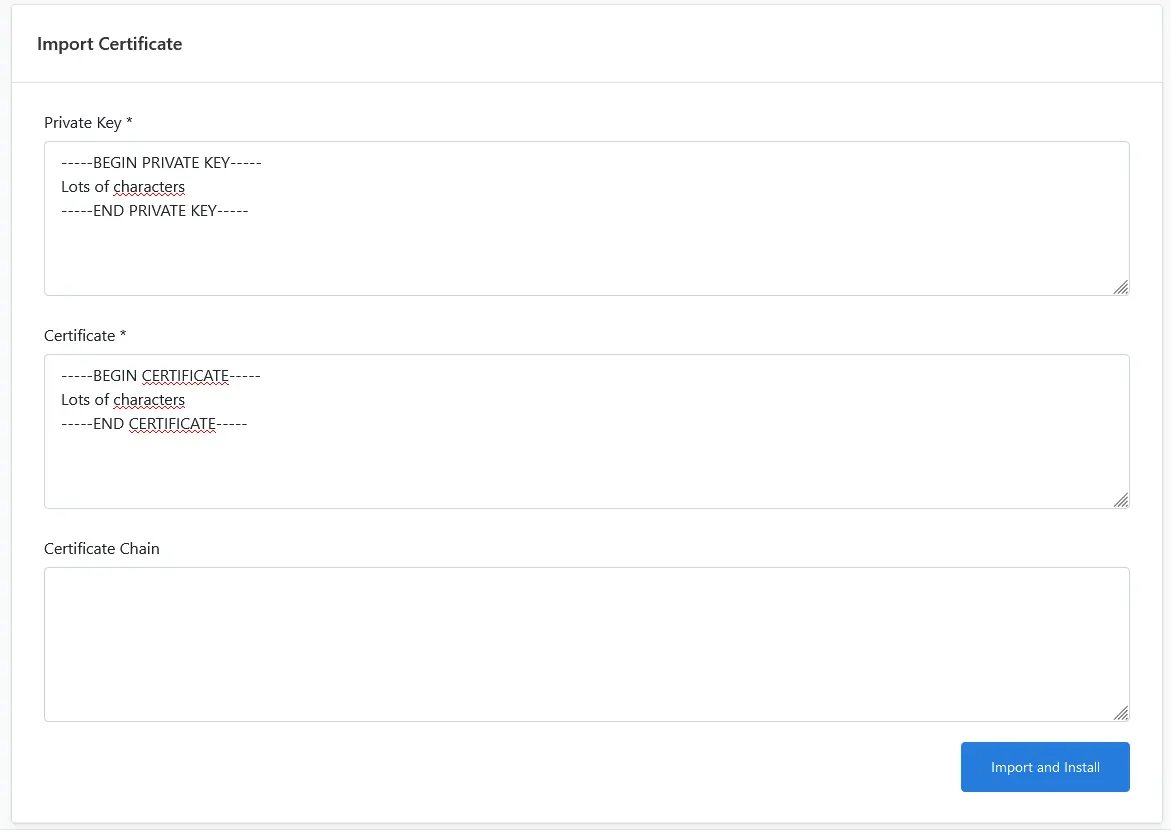
Now click on Actions (the blue button) and select Import Certificate.
On the next screen we will now copy and paste our Private Key we created earlier with Cloudflare in the Private Key text area and copy and paste our Certificate that we also created earlier on Cloudflare in the Certificate text area. You can leave Certificate Chain empty. (Be sure to copy and past your private key under private key and certificate under certificate, if you do it the other way around you will get an error) And click on Import and Install. Your certificate will now be installed on your domain.
Creating an SSH user
With our certificate installed it’s time to create our SSH user. In the top menu select SSH/FTP.
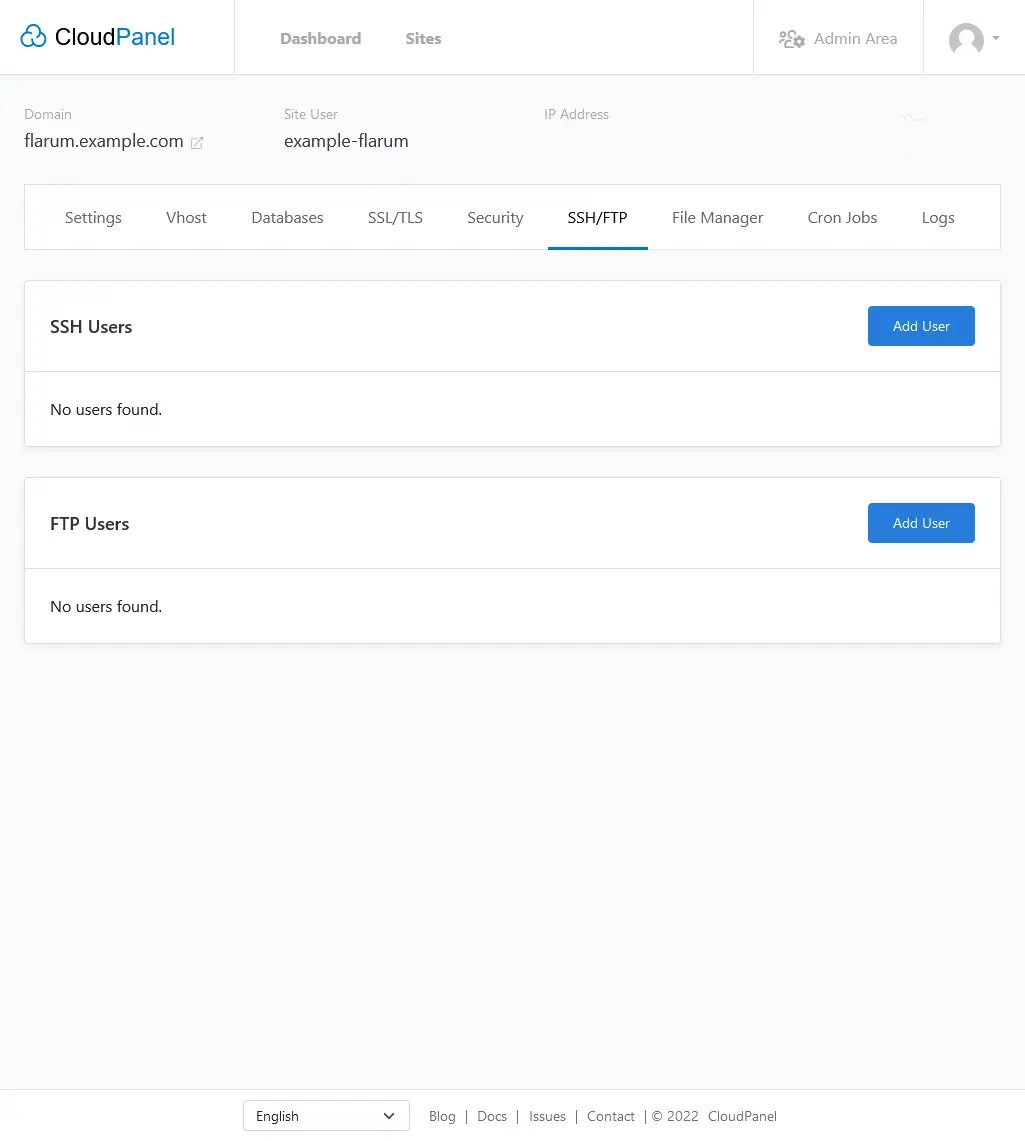
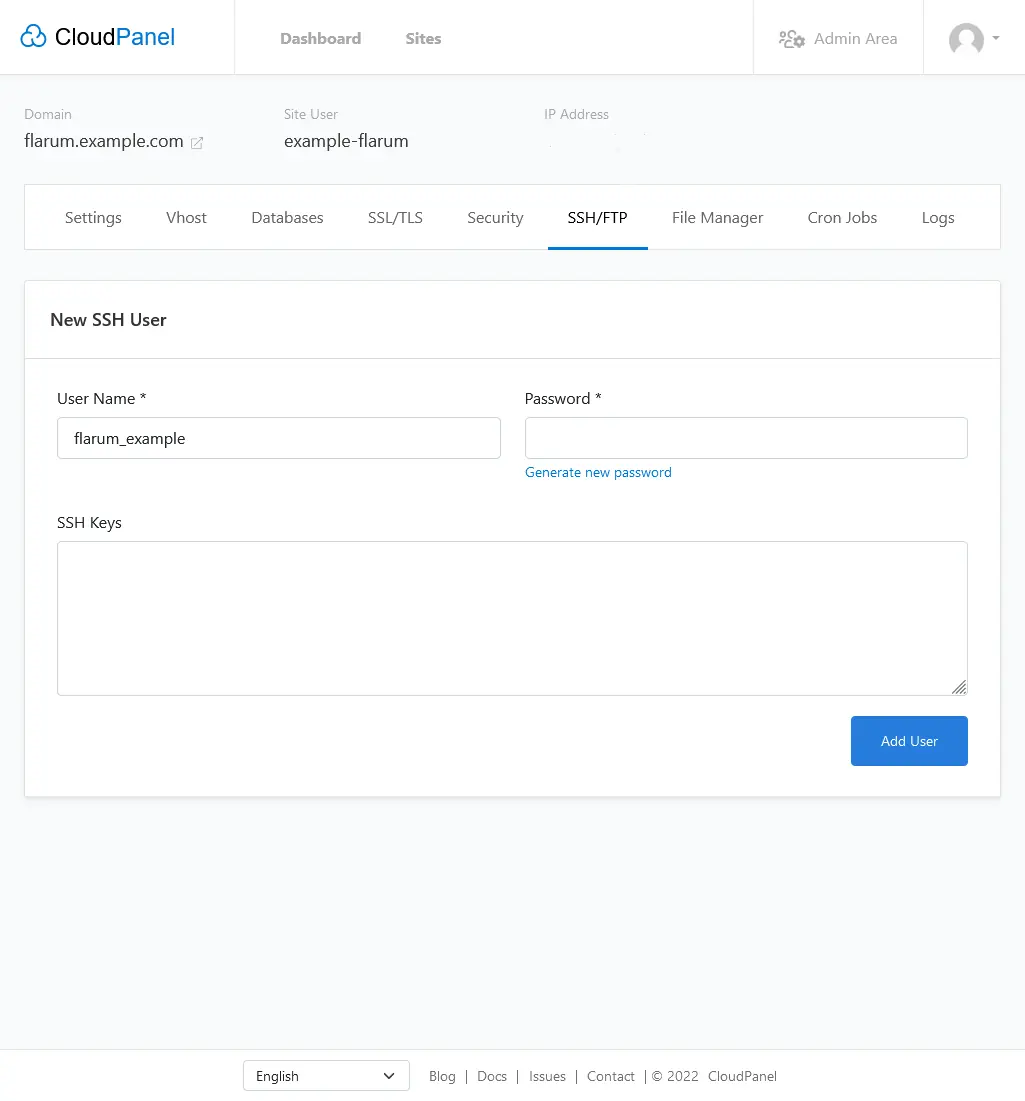
Under SSH Users click on Add user and fill in a user name and secure password for your ssh user, leave the SSH Keys text area empty and press on Add User, be sure to take a note of the credentials you just made, because we will need them next for connecting to our server.
Installing Flarum on our server via command line
Now login to your server with your favorite ssh client (We use PuTTY), when you log in use the ssh information you just created.
When logged in to our server we are now greeted with the following:
########################################################
###            Welcome to CloudPanel                 ###
########################################################

* Website:         https://www.cloudpanel.io
* Documentation:   https://www.cloudpanel.io/docs/v2/
* Best Practices:  https://www.cloudpanel.io/docs/v2/best-practices/
* CloudPanel:      https://your.cloudpanel
* CloudPanel CLI:  clpctl


The programs included with the Ubuntu system are free software;
the exact distribution terms for each program are described in the
individual files in /usr/share/doc/*/copyright.

Ubuntu comes with ABSOLUTELY NO WARRANTY, to the extent permitted by
applicable law.

example-user@ubuntu:~$
Now we will need to enter a couple of commands, that you will need to edit with the right domain, so don’t copy and paste all the commands without editing the right domain, use the one we created earlier for use with flarum.
cd htdocs && rm -rf flarum.example.comReplace flarum.example.com with your domain name that you just created. This command will place us in the htdocs folder and remove our domain directory, this directory will be recreated with the next command, again with the next command edit the domain flarum.example.com to your domain that you just created.
php8.1 /usr/local/bin/composer create-project flarum/flarum flarum.example.comThis command will let composer create a new flarum project in our domain directory. If all goes well composer will now install all the needed files.
With all the flarum files on our server its time to install it with the web interface.
Flarum Web installation
Enter your domain in your browser e.g.: https://flarum.example.com you will be greeted with the Flarum web installer.

Now we will need to enter a couple of things, first give your forum a title by filling out the Forum Title field. Leave the MySQL Host as is. (localhost) Next fill in your MySQL Database with your database you created earlier, do the same for the MySQL Username and MySQL Password. You can leave the Table Prefix empty.
Now fill in your Admin credentials and press on Install Flarum.
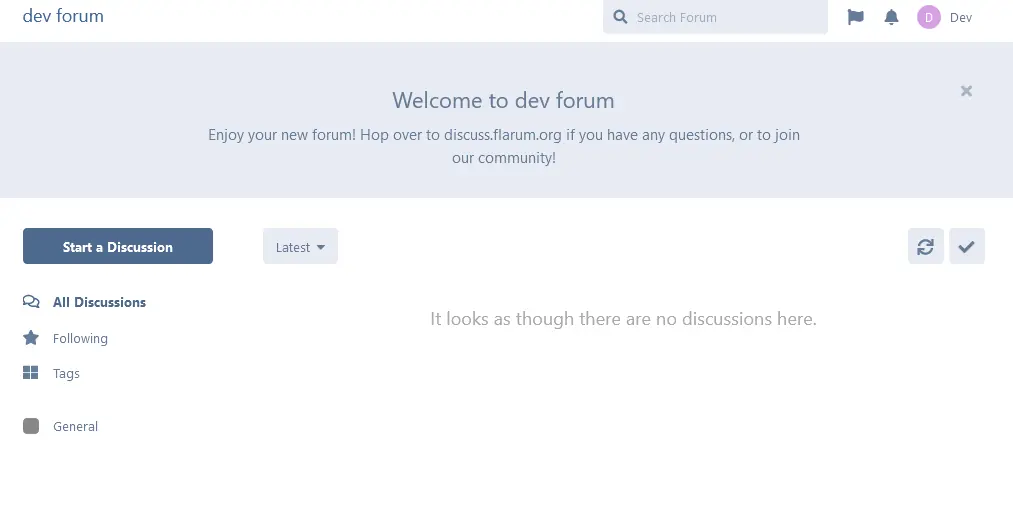
A few second later your forum will be installed and ready for use!
Flarum extensions
If you want to install extensions for flarum via the command line, use your ssh credentials you made in this guide
When you are logged in to your server type the following command (replace flarum.example.com with your domain):
cd htdocs/flarum.example.com/Now inside your site directory you can use composer to install most of the extensions available, but as always follow the guide of the extension you want to install.
We will give one example of a upload extension “Upload by FriendsOfFlarum“. To install this extension, log in via ssh on your server, and type the command mentioned above to get in to your site directory. (and again be sure to change flarum.example.com to your own domain.)
########################################################
###            Welcome to CloudPanel                 ###
########################################################

* Website:         https://www.cloudpanel.io
* Documentation:   https://www.cloudpanel.io/docs/v2/
* Best Practices:  https://www.cloudpanel.io/docs/v2/best-practices/
* CloudPanel:
* CloudPanel CLI:  clpctl

Last login:
flarum-ssh@ubuntu:~$ cd htdocs/flarum.example.com/
Now enter the following command while in your site directory followed by enter:
composer require fof/upload########################################################
### Welcome to CloudPanel ###
########################################################
* Website: https://www.cloudpanel.io
* Documentation: https://www.cloudpanel.io/docs/v2/
* Best Practices: https://www.cloudpanel.io/docs/v2/best-practices/
* CloudPanel:
* CloudPanel CLI: clpctl
Last login:
flarum-ssh@ubuntu:~$ cd htdocs/flarum.example.com/
flarum-ssh@ubuntu:~/htdocs/flarum.example.com$ composer require fof/uploadComposer will now install the “Upload by FriendsOfFlarum” extension.
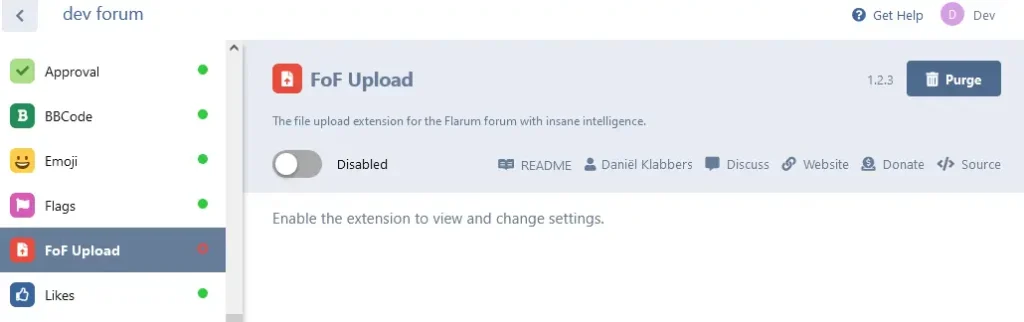
Inside your Flarum administration panel on the left side you will now see FoF Upload where you can enable or disable it.
If you liked this tutorial and want to support me you can do so by visiting my: Ko-fi page and buy me a coffee.