In this guide we will install Xenforo 2.x on a CloudPanel site with an Origin SSL certificate from Cloudflare. For people that want to use Let’s encrypt or their own certificate you can still follow this guide, just skip the Cloudflare parts.
Creating a Cloudflare Origin Certificate
Follow the following guide on our website to create a Cloudflare Origin Certificate: Creating a Cloudflare Origin Certificate (link will open in a new browser tab)
Creating a new PHP site in CloudPanel
Now we will create a new PHP site in CloudPanel, so login to your CloudPanel. In case you didn’t install CloudPanel see the following guide: Installing CloudPanel on Ubuntu 22.04 on how to install CloudPanel on Ubuntu 22.04.
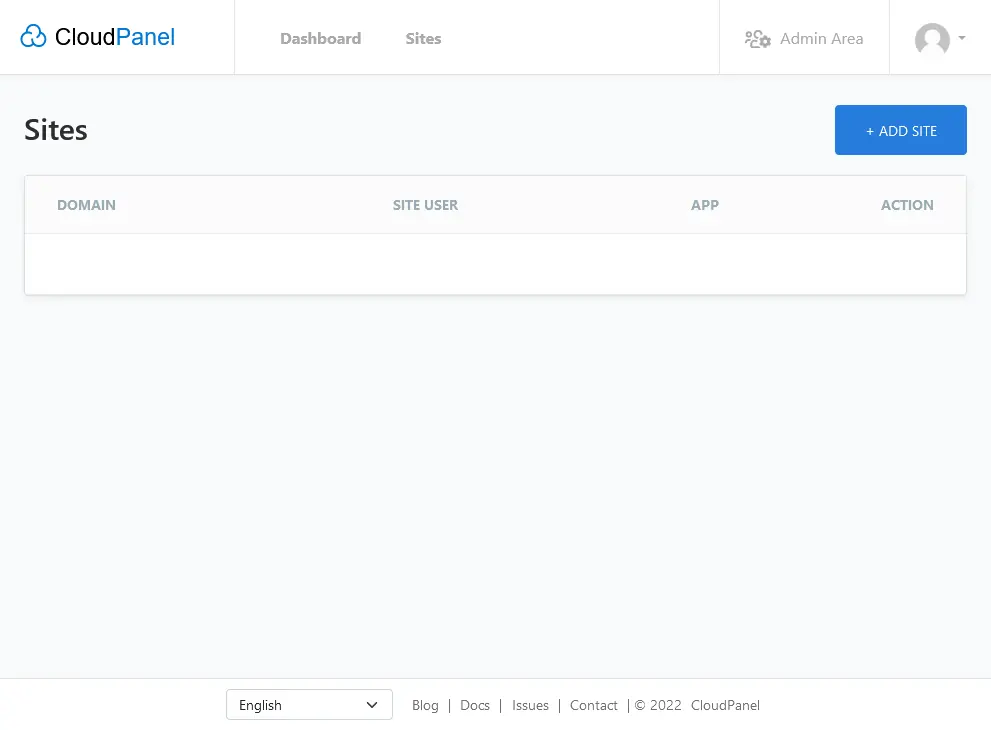
With your CloudPanel open click on + ADD SITE.
Now on the next screen click on Create a PHP Site.

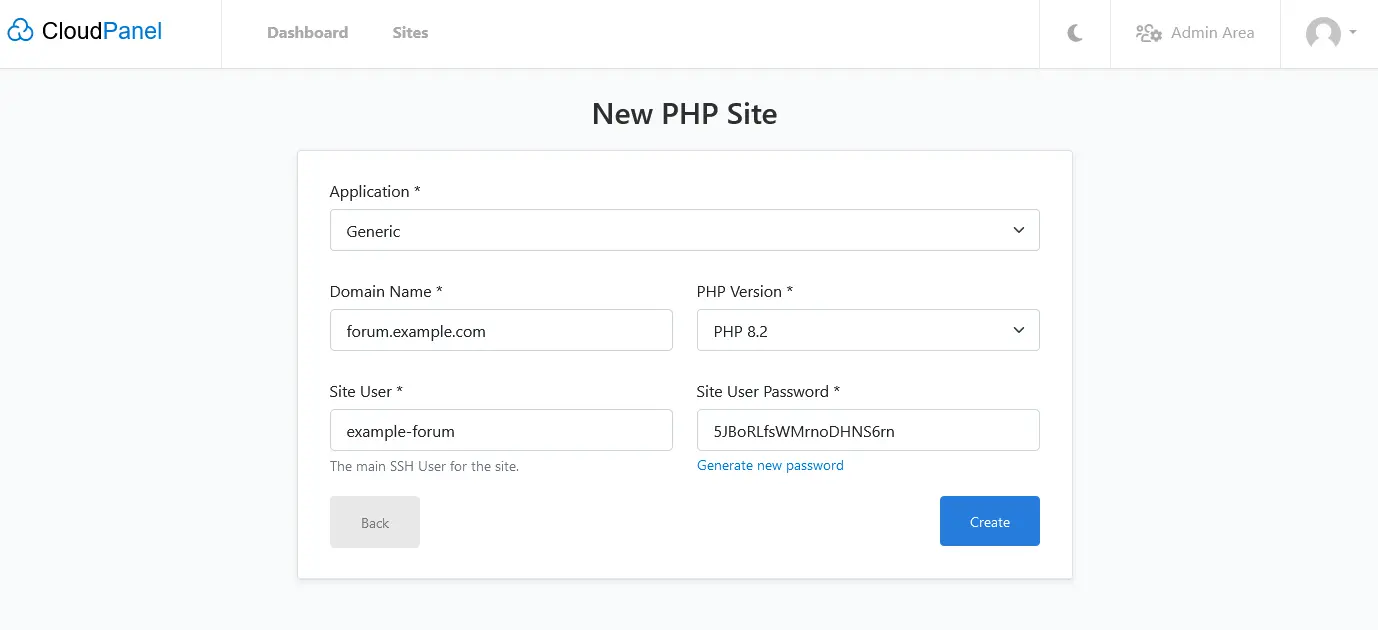
On this screen we need to fill out some information. For application, we choose Generic, For Domain name choose your (sub)domain, PHP Version we choose PHP 8.1 or 8.2, for Site User choose your desired site user name and for Site User Password choose a strong and secure password. (Take a note of your Site User name and Site User Password, we will use them later on to upload Xenforo to your server with FilleZilla) When you have filled in everything click on Create. The creation of your new PHP site wil take a couple of seconds to complete now.
After your new PHP site is created you will return to your sites overview.
Create a database
Now we will create a database for Xenforo. In the top menu click on Databases.
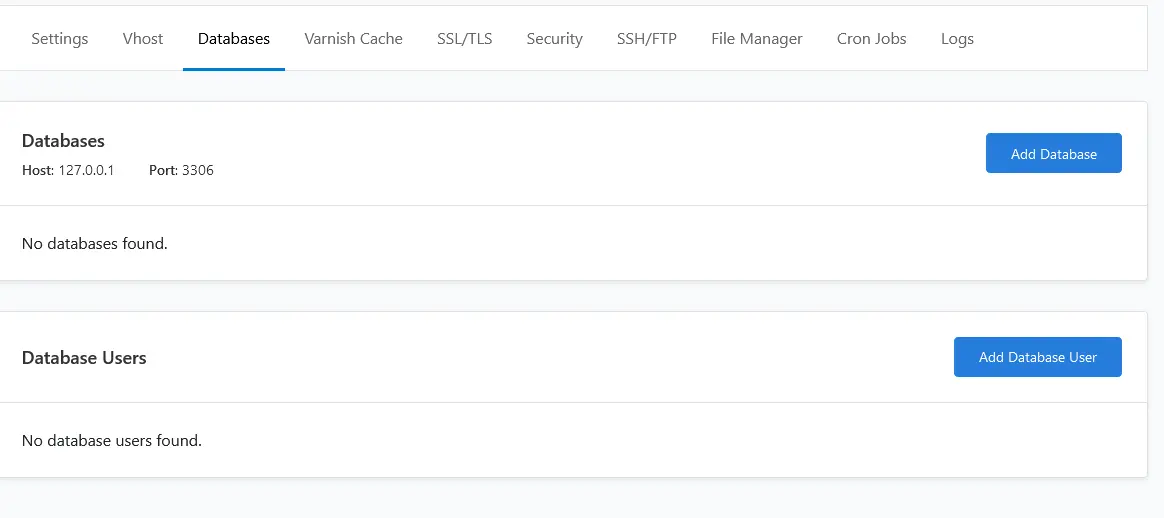
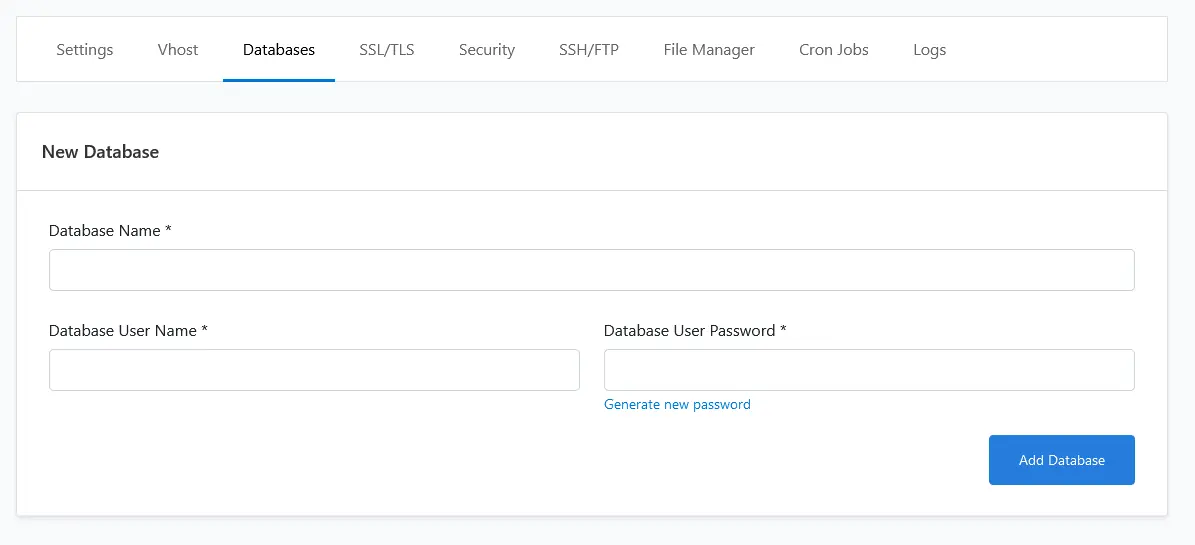
While on the Databases screen click on Add Database and fill out your desired database name, database user name and database user password. Before clicking on Add Database be sure to make a note in notepad of your database name, database user name and database user password, we need those later to install Xenforo. After you made a note of your credentials click on Add Database.
Add our Cloudflare Origin certificate to CloudPanel
Note: if you don’t want to use a Cloudflare Origin certificate, skip this part, if you want you can assign a Let’s encrypt certificate here, be sure if you do so to turn off Cloudflare first and after the Let’s encrypt certificate has successfully been issued you can turn it on again.
Next we will install our Cloudflare Origin certificate, so it will act as our SSL. To do this click on SSL/TLS in the top menu.
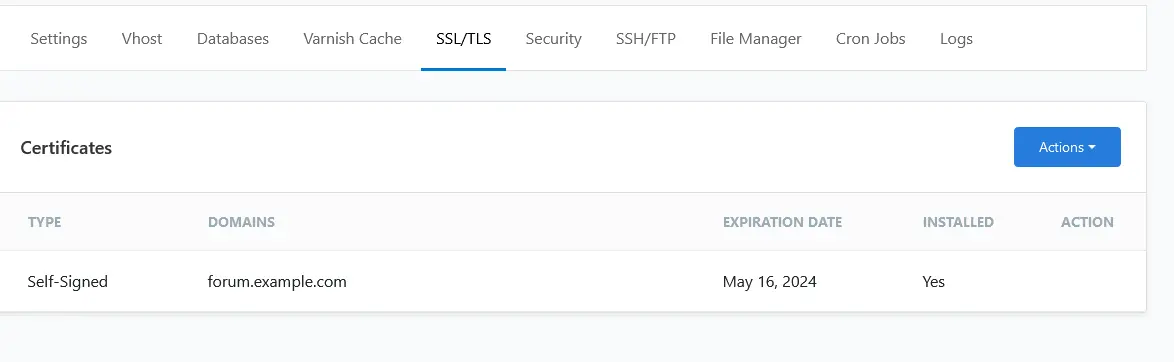
Now click on Actions (the blue button) and select Import Certificate.
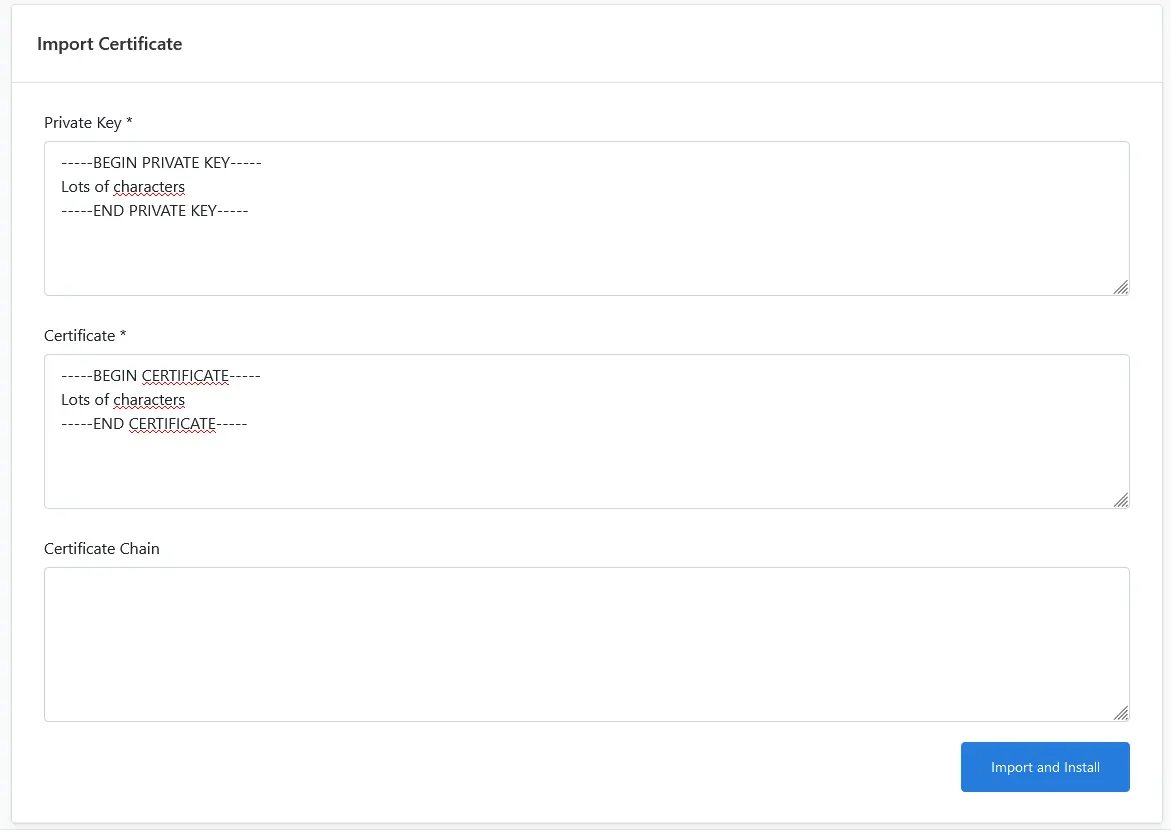
On the next screen we will now copy and paste our Private Key we created earlier with Cloudflare in the Private Key text area and copy and paste our Certificate that we also created earlier on Cloudflare in the Certificate text area (By following: Creating a Cloudflare Origin Certificate Guide). You can leave Certificate Chain empty. (Be sure to copy and past your private key under private key and certificate under certificate, if you do it the other way around you will get an error) And click on Import and Install. Your certificate will now be installed on your domain.
Uploading and Installing Xenforo on our Cloudpanel server
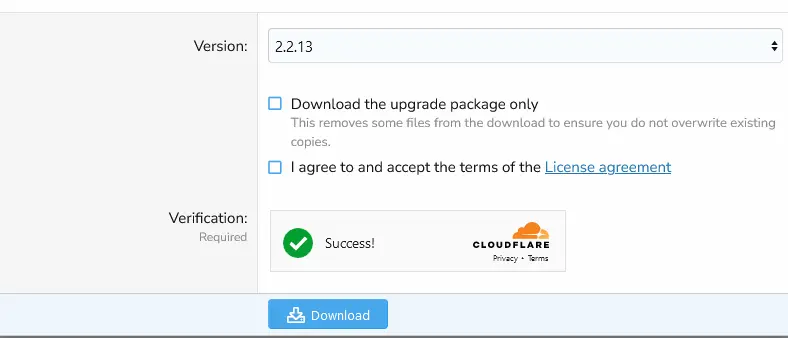
First login to your Xenforo.com account and download the latest full version of Xenforo (for the full version be sure to remove the checkmark next to “Download the upgrade package only”)
After you downloaded Xenforo, unzip the files.
Uploading the files to your server
To upload the files to your server we will use FileZilla.
Open FileZilla
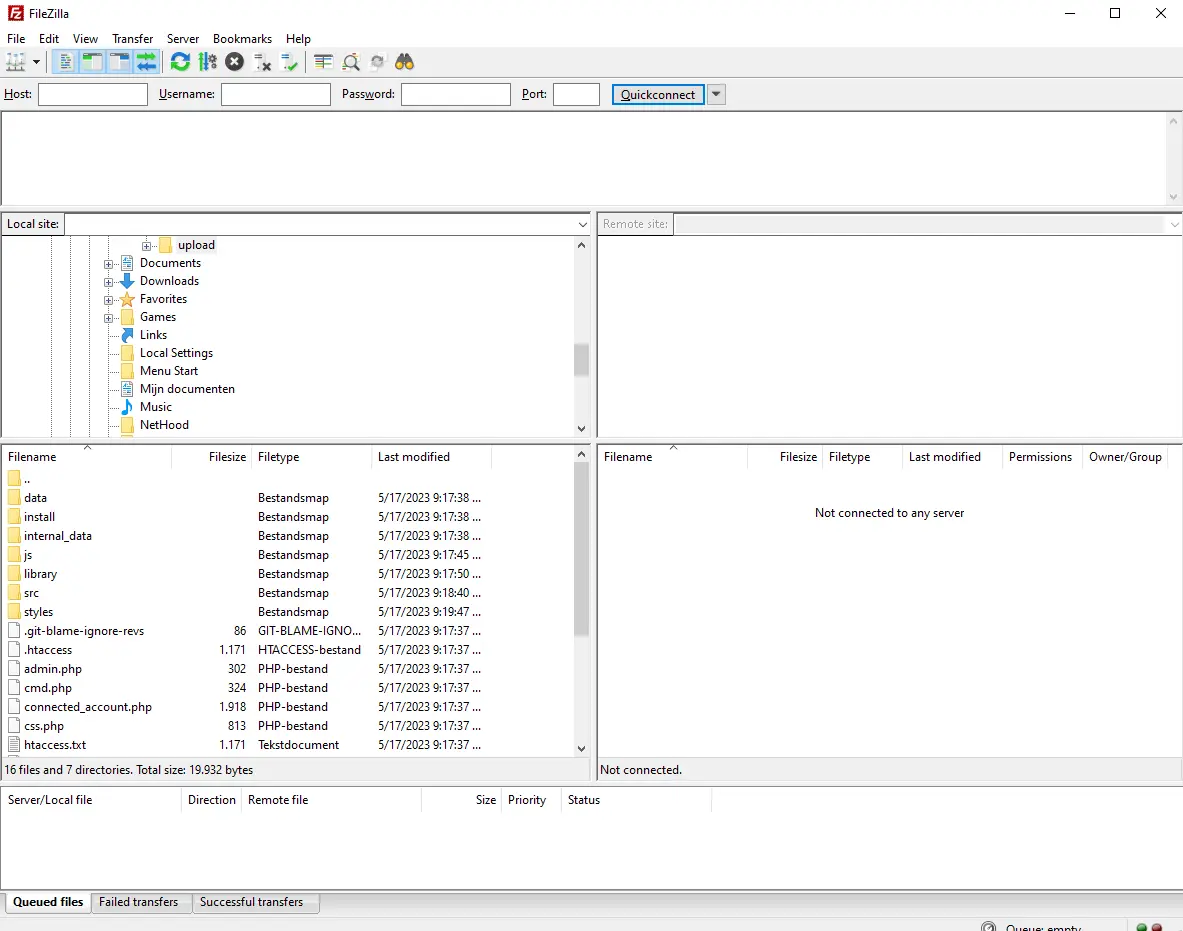
Now enter your server IP Address into the Host text area. Next enter your Username (the name you created in the beginning under the Create a PHP Site step. Next enter your Password (The one you created under the Create a PHP Site step). Last step is to enter the Port number in our case 22 (for sftp). Now press enter to connect to the server.
When connected to your server Double click on htdocs in the right panel followed by double clicking on your site name directory e.g. “forum.expample.com”
In your site directory you will see a index.php file click on it and delete it. (press delete on your keyboard or right click on the file and select delete.)
Now in the left panel go to your unziped Xenforo files folder and enter the upload folder as seen in the above image. select all the files and drag them to the right panel. FileZilla will now start uploading the files to your server. (This can take a couple of minutes depending on your upload speed)
Once all the files are uploaded we will start with the installation of Xenforo with the webinstaller.
Installing Xenforo
Browse to your forum url e.g. https://forum.example.com, if everything above has been followed you will be greeted with the following screen
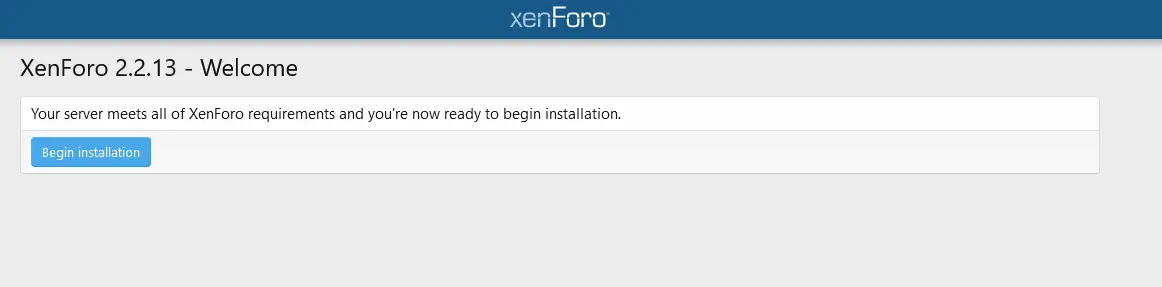
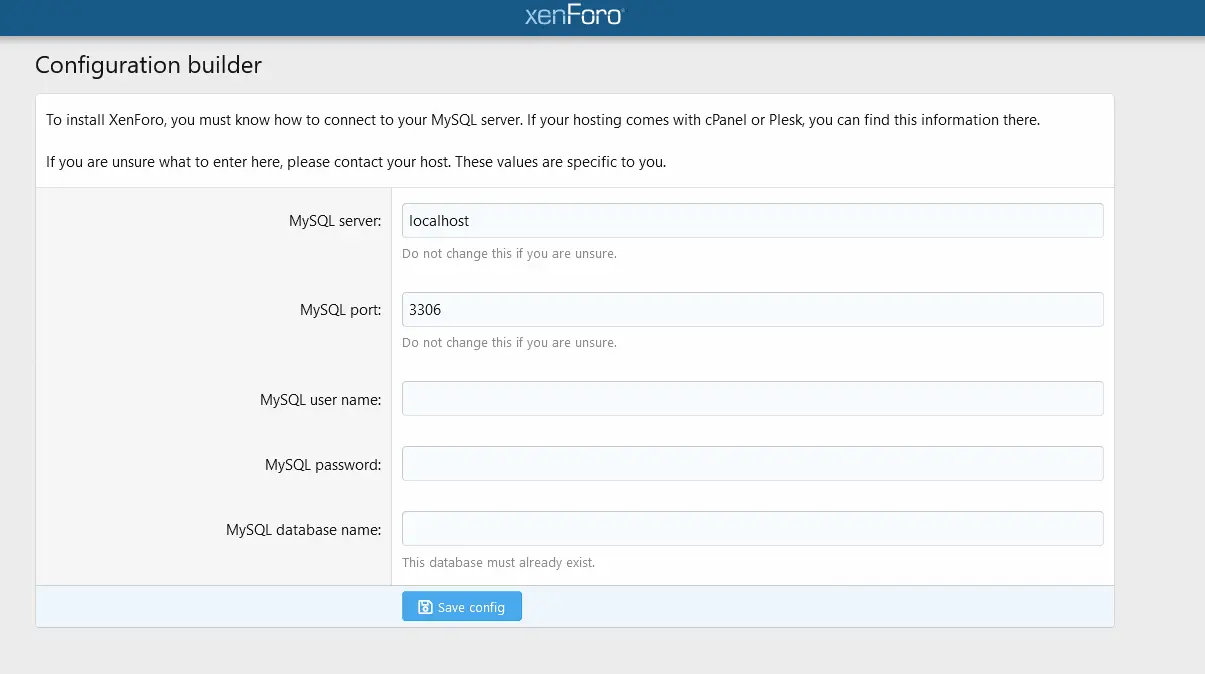
Click on Begin installation, on the screen that follows we will enter the Database information we created earlier. Enter your data base username under MySQL user name, your database password under MySQL password and your database name under MySQL database name. Now click on Save config
After you clicked on Save config and all the information was correct you will see the next screen
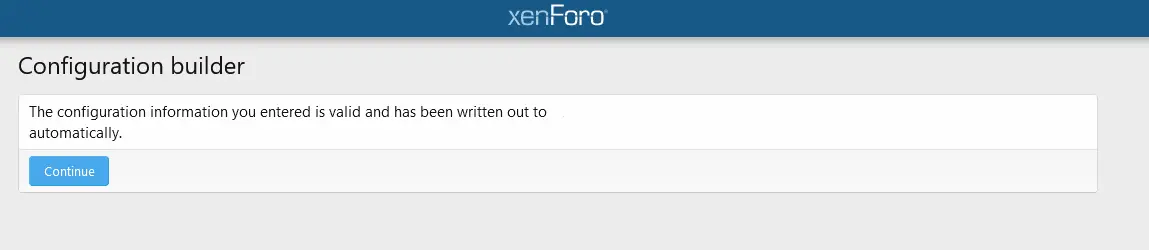
Click on Continue the next step will verify your configuration.
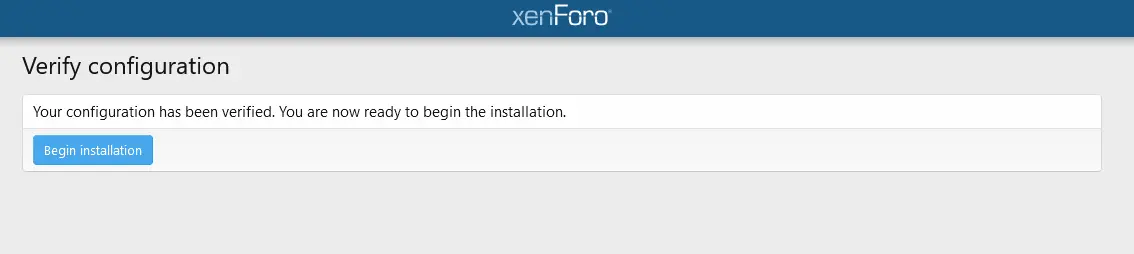
When everything is verified click on Begin installation, the installation can take a couple of minutes. When its done you will be greeted by the next screen
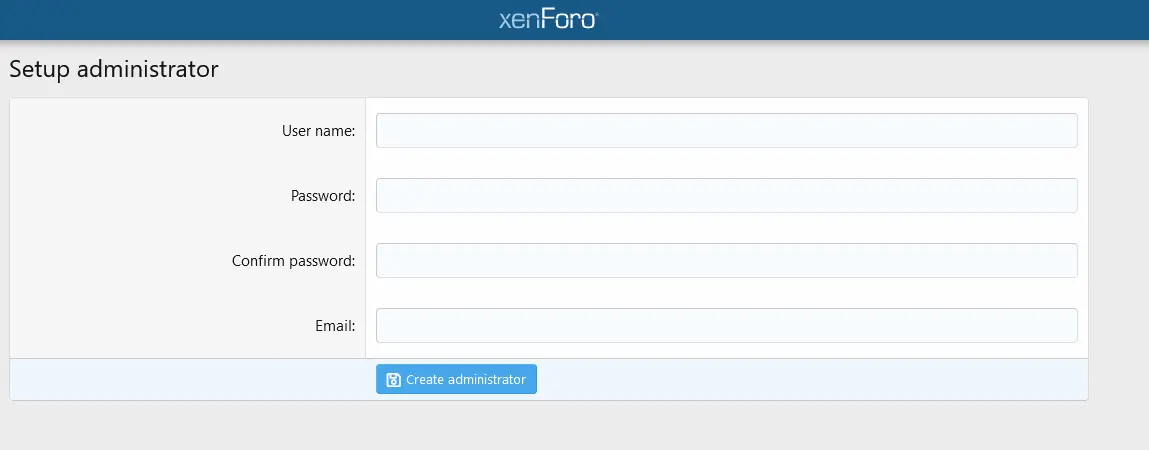
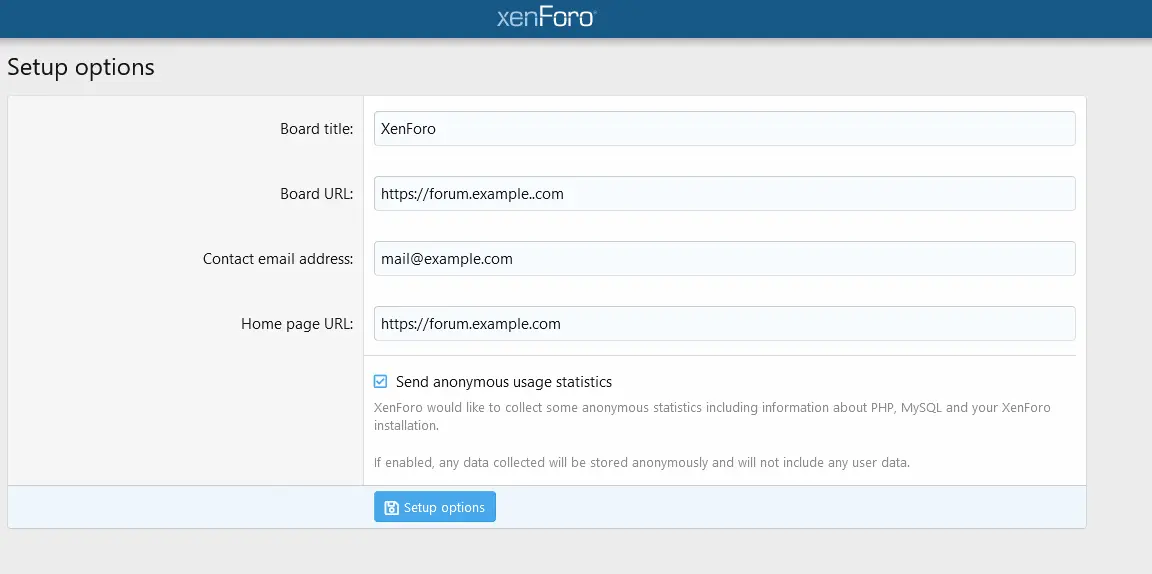
Enter your desired administrator user name, password and email afterwards press Create administrator. After you created your admin account you will be greeted by the next screen. Here you can enter your board titel and check if your board url and contact email are correct and choose if you want to share anonymous usage staticstics. When everything is correct press Setup options.
After clicking on Setup options you will be greeted by the following screen

Xenforo is now installed on your server, to manage your forum click on Enter your control panel and login with your administrator credentials.
If you liked this tutorial and want to support me you can do so by visiting my: Ko-fi page and buy me a coffee.