CloudPanel
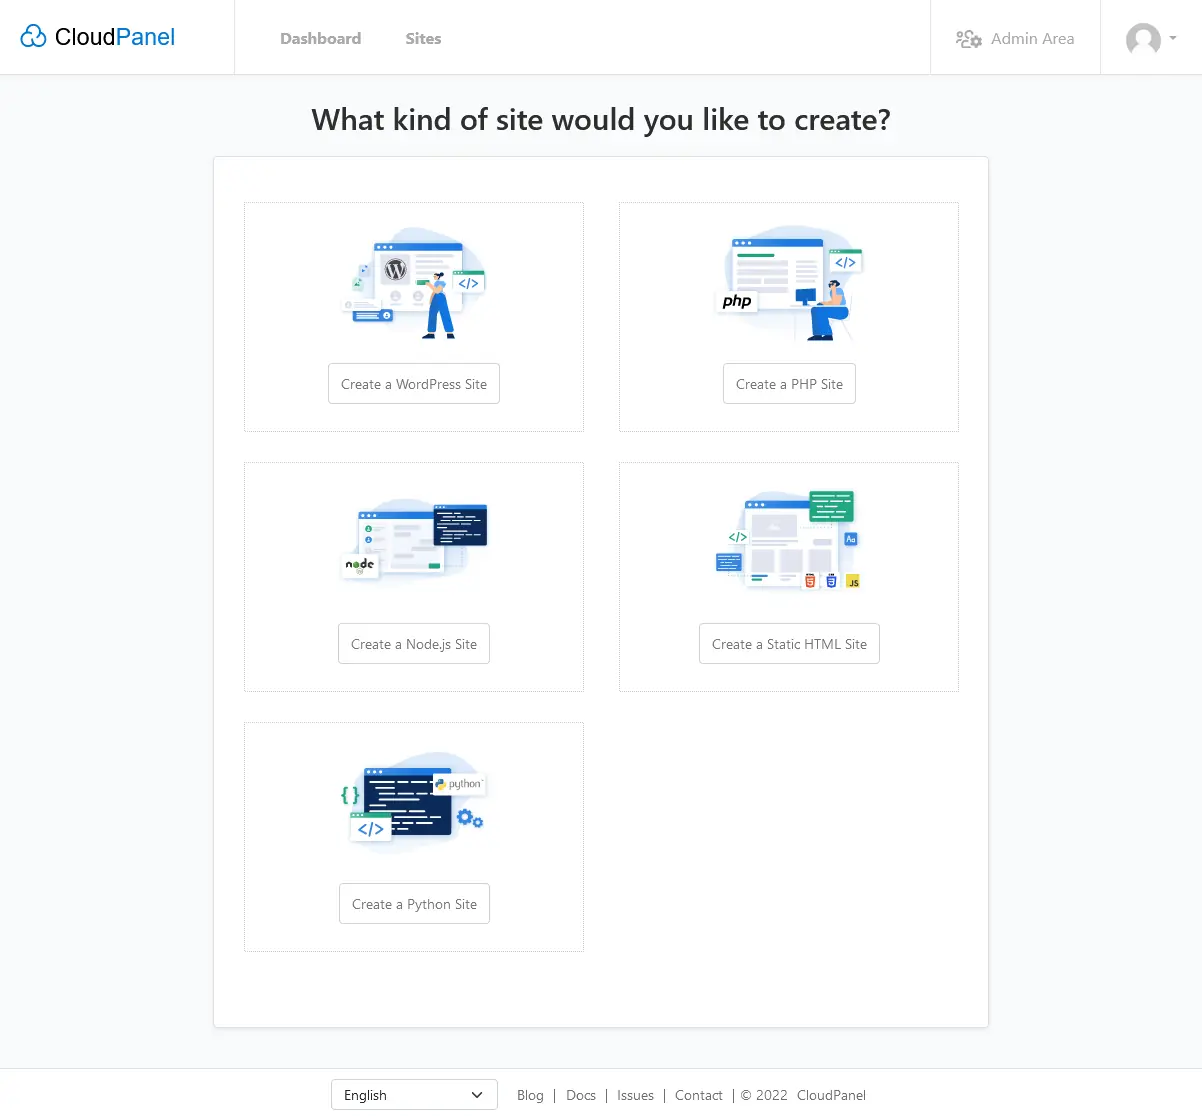
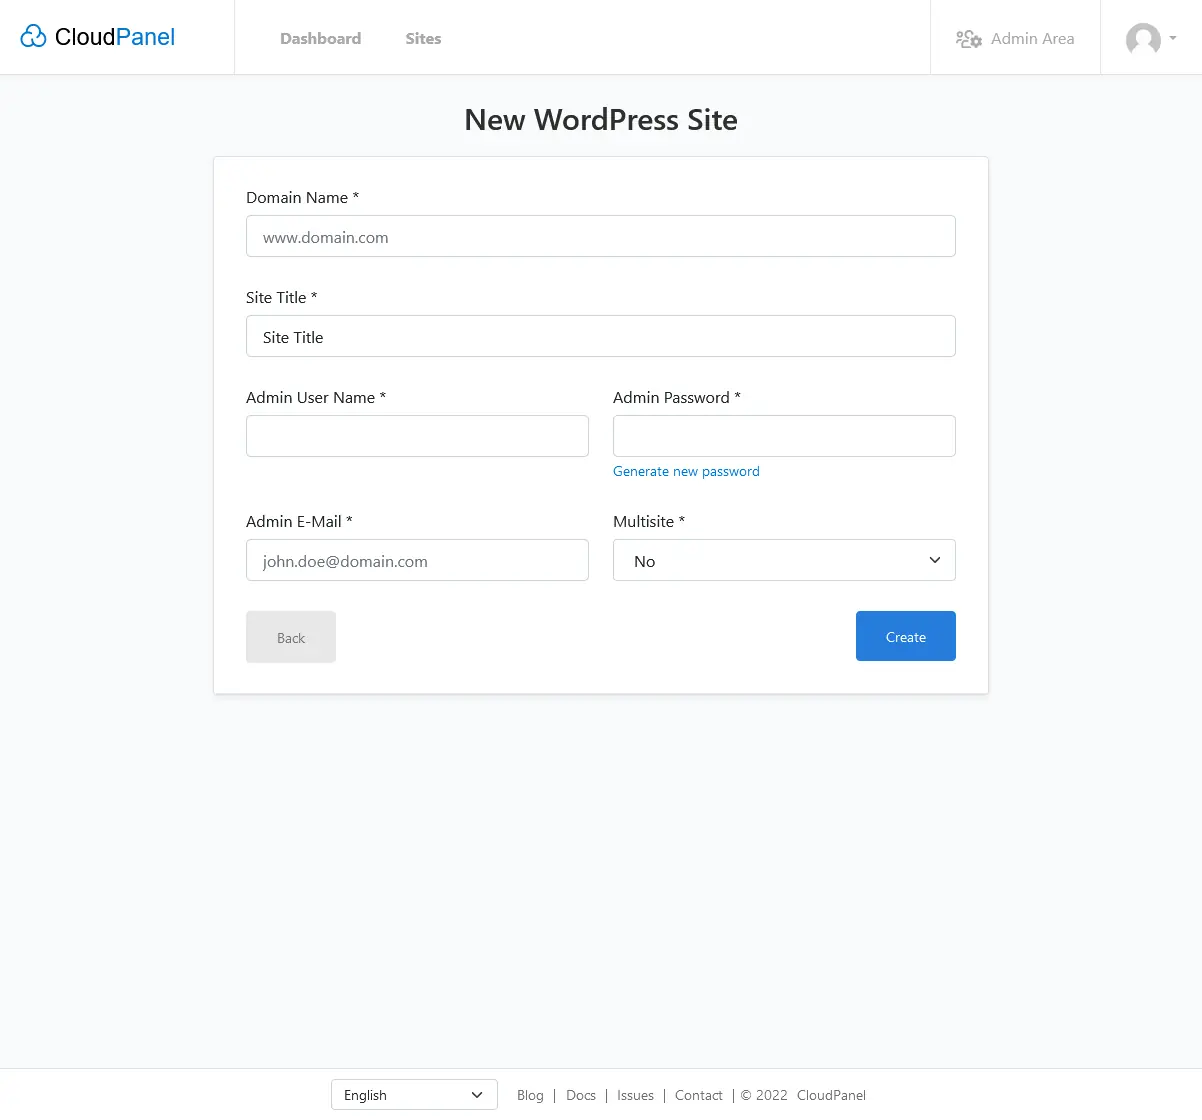
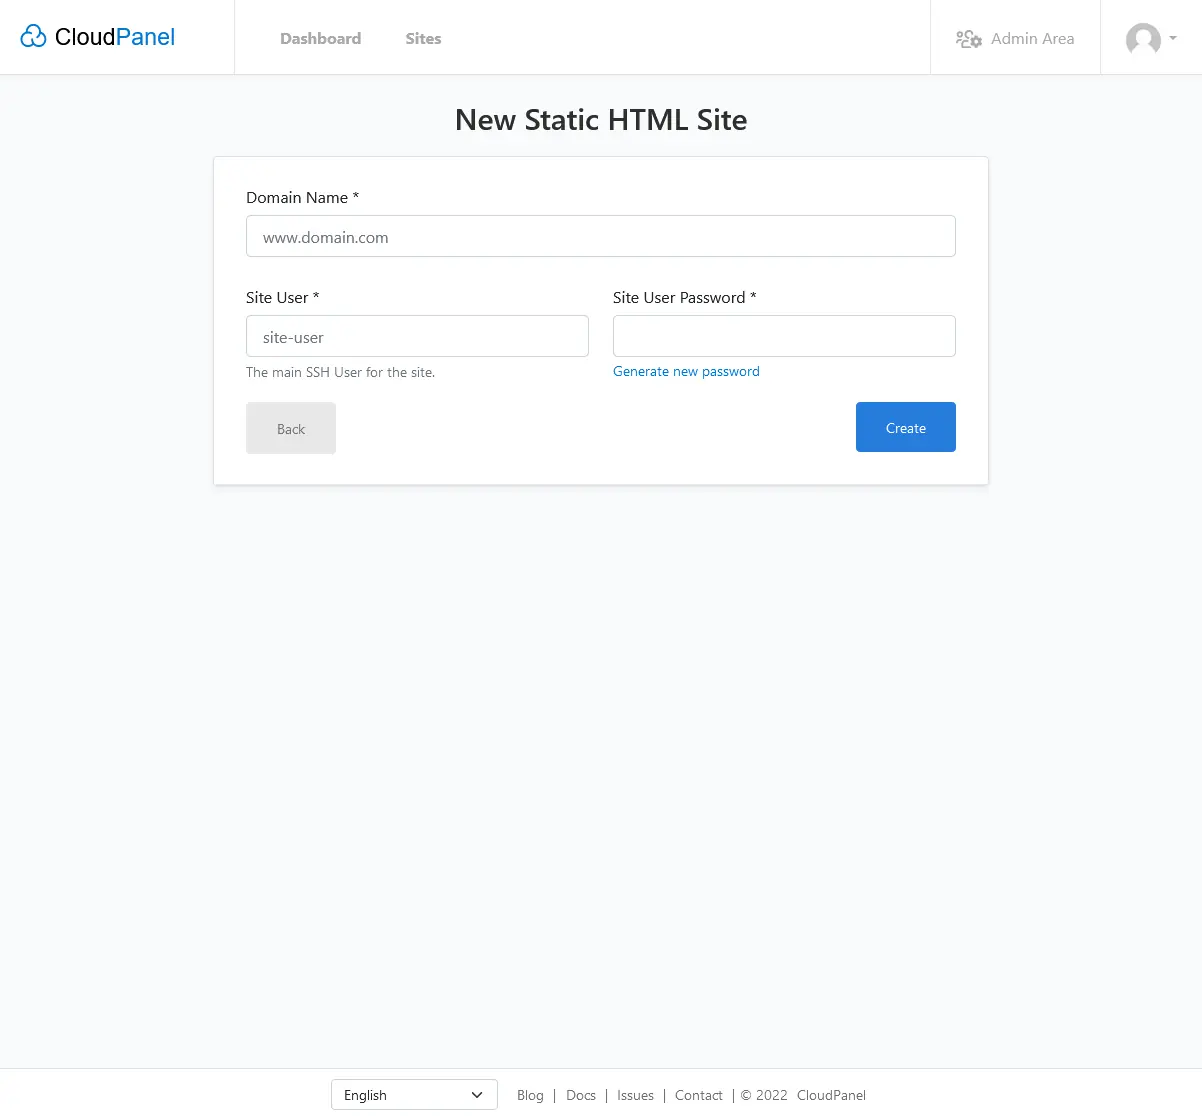
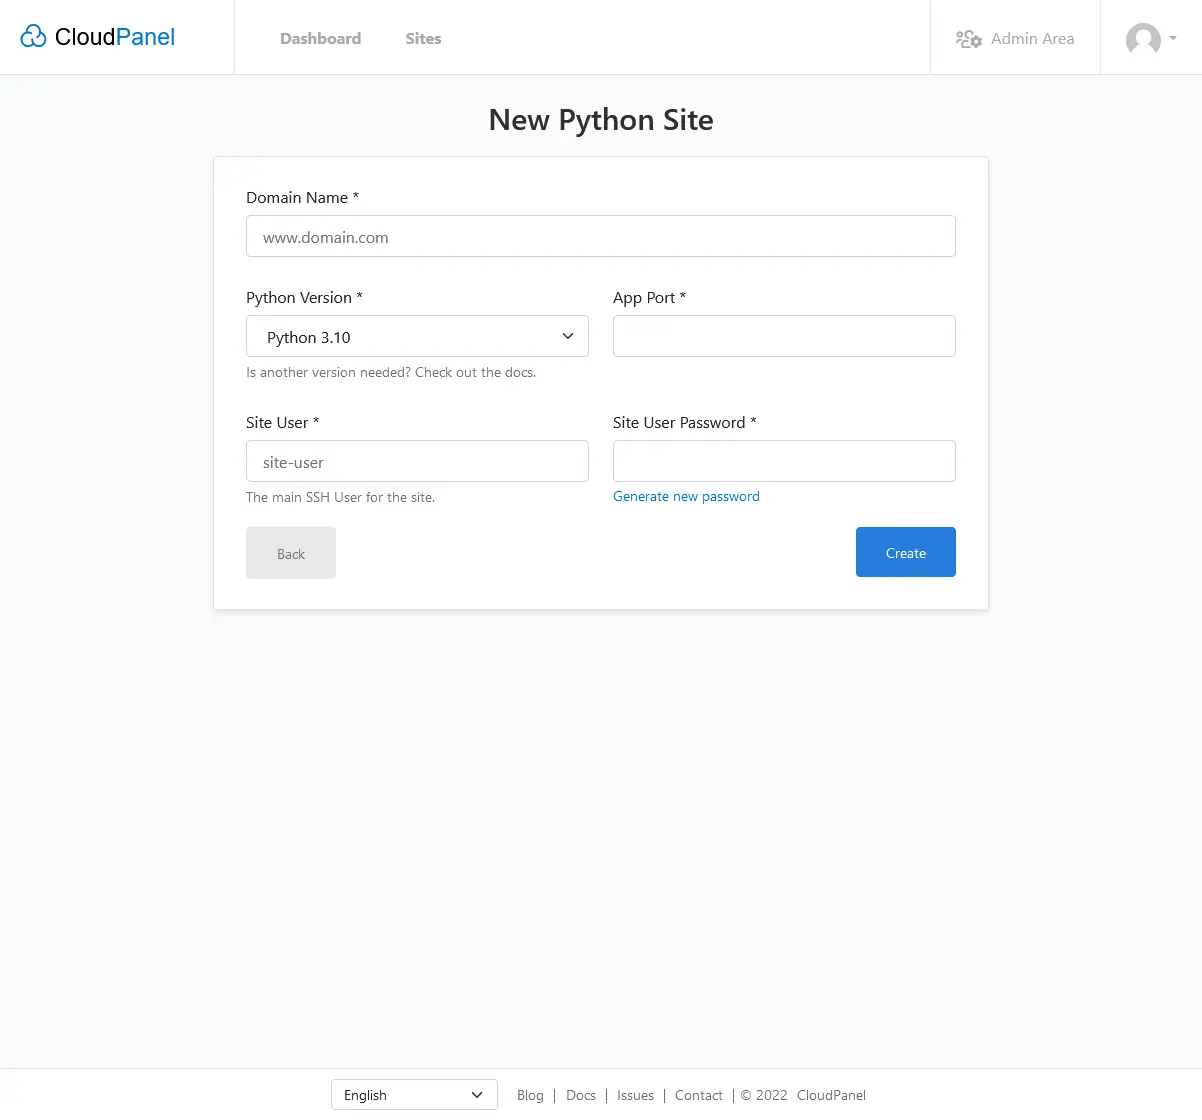
Cloudpanel is a simplistic hosting control panel, that lets you install WordPress, PHP applications, Node.js, Python and static websites in an instance.

To install CloudPanel you need a dedicated server or a VPS with a clean installation of Ubuntu 22.04 or Debian 11 with root access. In this guide we will be using Ubuntu 22.04.
If you don’t have a server or VPS see our guide on how to deploy a server with Vultr.com: Deploying a VPS with Vultr.com
CloudPanel Installation
Login to your server via SSH, for Windows users you can use PuTTY (https://putty.org/), linux and mac users can use their favorite SSH client.
sudo apt updatefollowed by:
sudo apt upgradeanwser with y to upgrade available packages.
Also make sure the following packages are installed with the following commands:
sudo apt install curland:
sudo apt install wgetWhen all the above is done it’s time to run the CloudPanel installer. You can choose 4 different Database flavors. We will list the commands for all 4 of them, so you can choose which one you like most. (MariaDB 10.6, would be our personal choice)
MySQL 8.0:
sudo curl -sSL https://installer.cloudpanel.io/ce/v2/install.sh | sudo bashMariaDB 10.9:
sudo curl -sSL https://installer.cloudpanel.io/ce/v2/install.sh | sudo DB_ENGINE=MARIADB_10.9 bashMariaDB 10.8:
sudo curl -sSL https://installer.cloudpanel.io/ce/v2install.sh | sudo DB_ENGINE=MARIADB_10.8 bashMariaDB 10.6: (our choice)
sudo curl -sSL https://installer.cloudpanel.io/ce/v2/install.sh | sudo DB_ENGINE=MARIADB_10.6 bashWhen the installation is completed you will be told to visit: https://yourserverip:8443
In most browsers you will see a warning about a self-signed certificate, you can ignore this warning and continue to your panel and create your administrator account.
CloudPanel Custom Domain
If you want to access your control panel through its own domain e.g.: cp.example.com you will need to do the following.
First make sure that your cp.example.com domain points to your server IP address. (if you are using Cloudflare for your DNS make sure to turn off proxy for this subdomain)
Now in CloudPanel click on Admin Area

Followed by clicking on Settings:
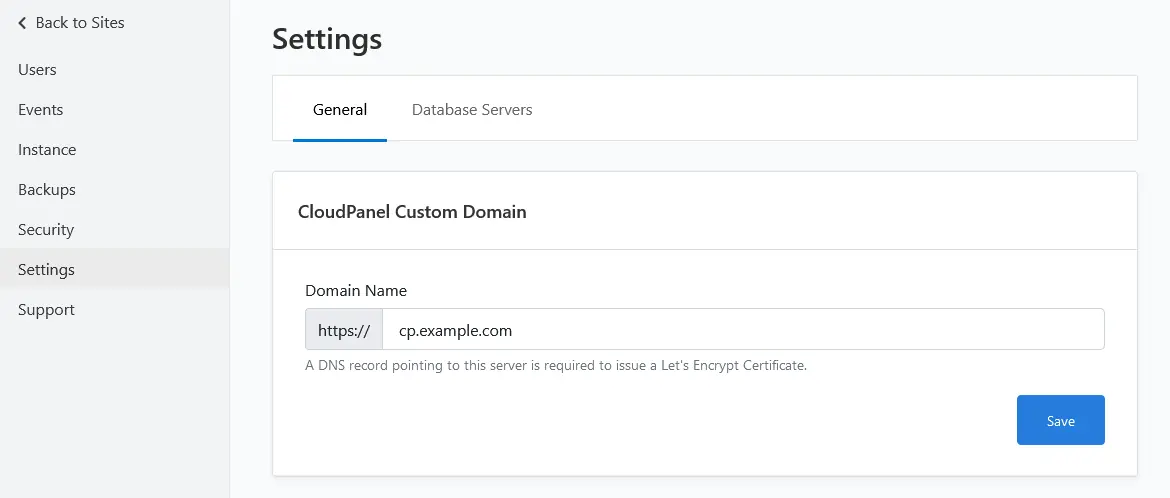
On the General tab enter the subdomain you want to use for your CloudPanel, followed by pressing on Save. When you click on save a Let’s Encrypt Certificate will be issued for the custom domain.
Now you can visit your CloudPanel with your own custom domain. (https://cp.example.com without :8443)
This tutorial has been last tested on 12 October 2022 on a Vultr.com Cloud Compute instance. See: Deploying a VPS with Vultr.com on how to deploy a VPS on Vultr.com capable of running CloudPanel.
Problems during installation
If during your update and upgrade process some packages are hold back you can install them manually with the following command: (replace <package_name> with the real package name)
sudo apt install <package_name>In case there are multiple packages not upgraded use the same command but add all the packages behind each other with a space between package like: (replace <package_name> <package_name-2> etc with the real package names.)
sudo apt install <package_name> <package_name-2>